UsersWP has an intuitive Form Builder that can be used to quickly add registration and account forms to your site. There is no limit on the number of forms that you can add.
Understanding the Form Builder Interface
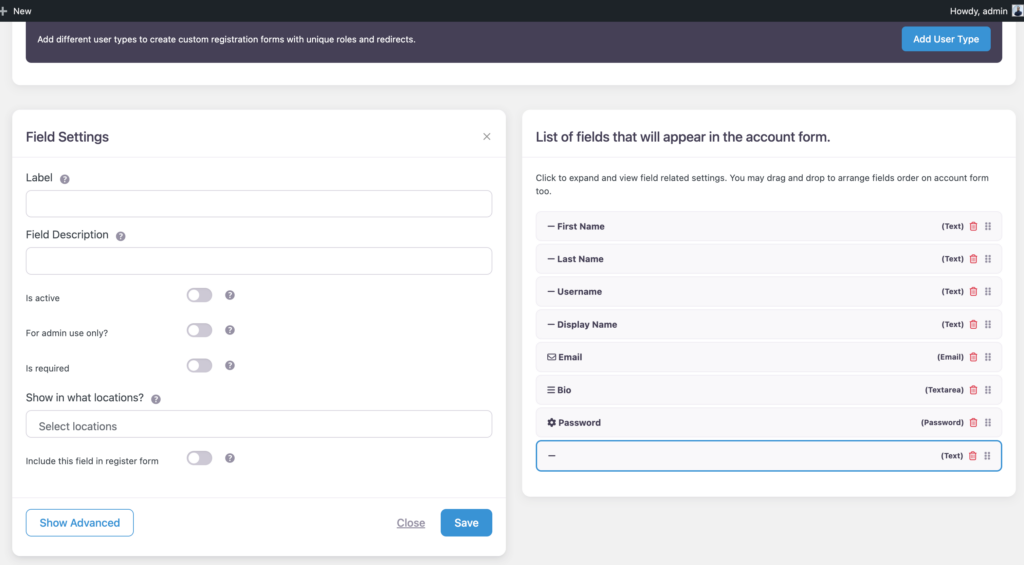
UsersWP Form Builder screen is divided in two parts — on the left, you have the list of available fields, and on the right, you can see the fields that are actually added to the form.
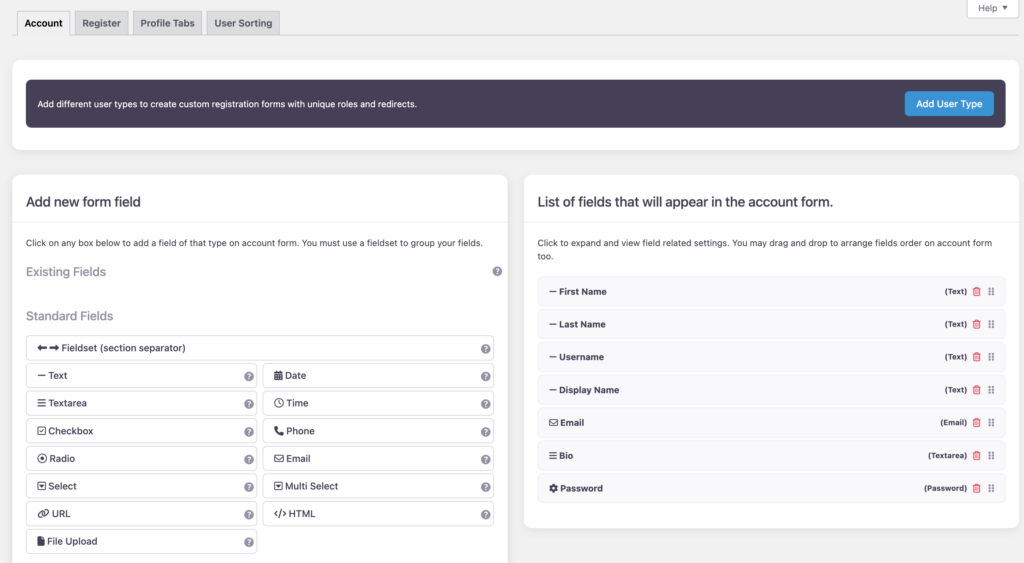
Adding fields to the form is fairly straightforward — you can click on the field of your choice, and it will be added to the form. You can then customize its settings as per your requirements. For instance, in the example below, we will add the <strong>Text</strong> field to our form.
- 1
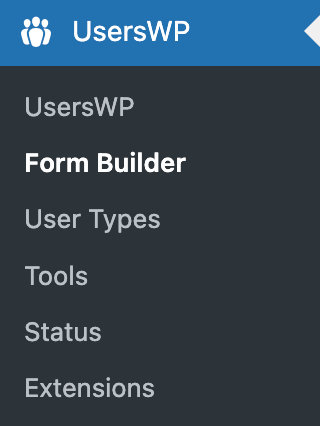
- Navigate to UsersWP > Form Builder.
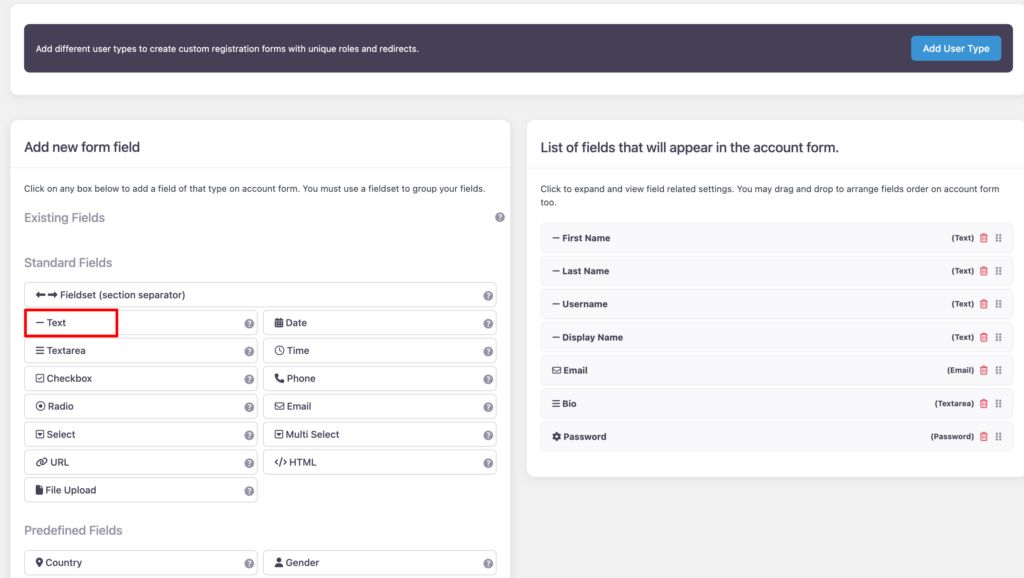
- 2
- Click on the Text field; it will be added to the form.
- 3
- You can now customize its settings as per your needs. You can specify a field label and description, choose whether its a required field, and also specify where it should be displayed on the frontend.
- 4
- Save your settings.
The above process can be repeated for all fields, as necessary.
- Is Active? – This should be checked, otherwise the field may not show up on the frontend.
- Include This Field in Register Form? – If checked, the field will show up in the Available register form fields.
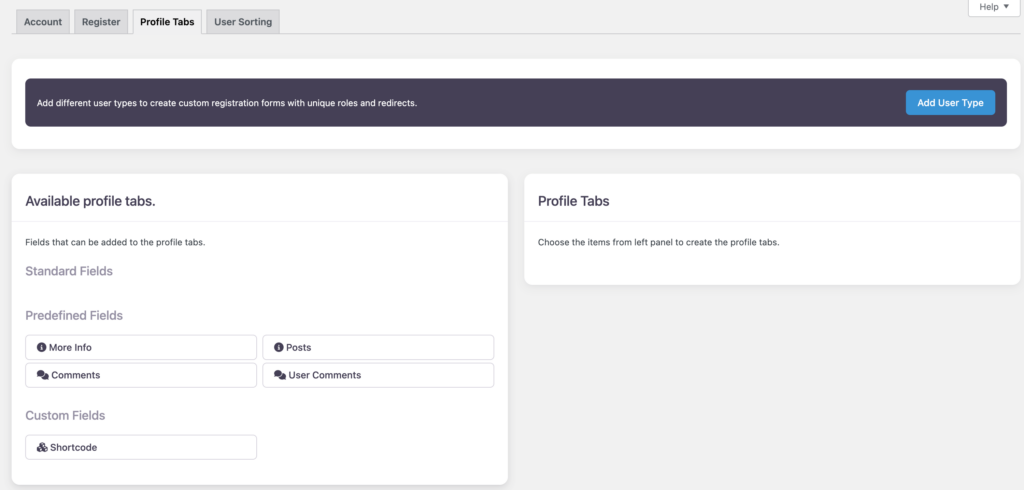
Register and Profile Tabs
Once you have created an Account Form, you can tweak its registration fields by heading to UsersWP > Form Builder > Register.
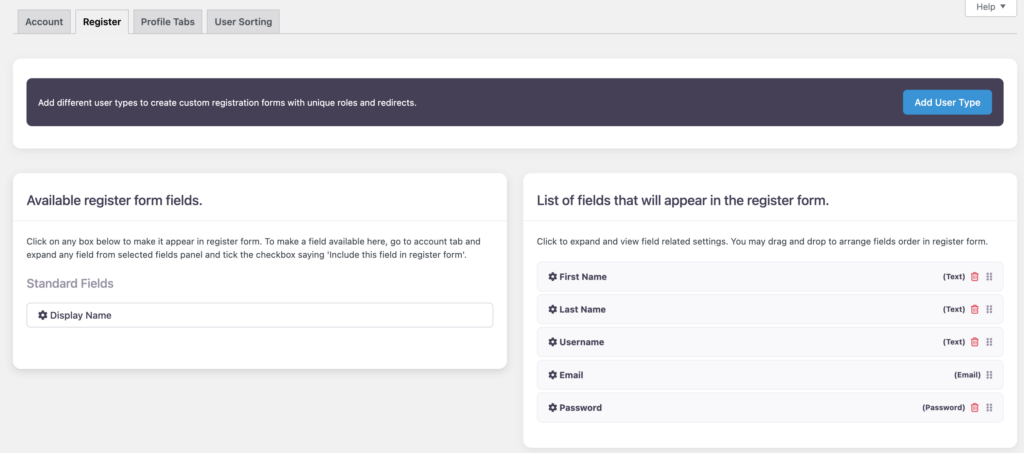
Similarly, you can add profile tabs to specific forms from the page UsersWP > Form Builder > Profile Tabs.