Form Builder
Introduction
Register Form
Account Form
Add Custom Fields
Settings
Introduction
The Form Builder for UsersWP is where you can add custom fields to the Account and Register forms.

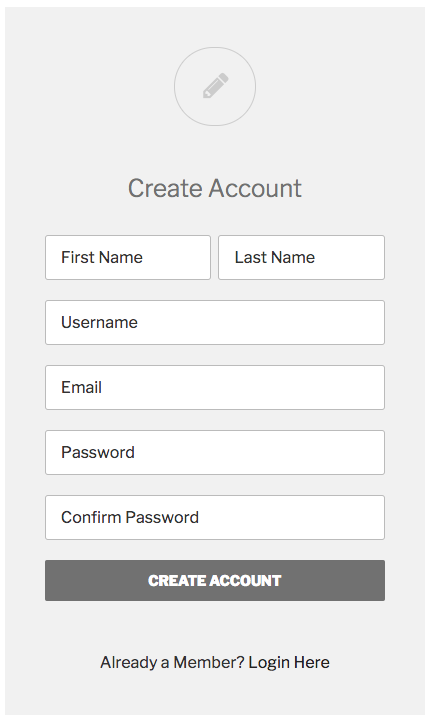
Register Form
The Register form is where your site visitors sign up for an account on your site. You can use the custom field options to display new fields on the Register form, the Account form, or both. All fields must be added to the account form first, but each field has settings to allow it to be shown on the Register form, too.
Many site managers have found that keeping the Register form as “simple” as possible encourages users to finish filling the form and request their account. It is therefore recommend that the registration form be as short as possible, only requiring email address, username and password. The quicker the form, the higher the percentage of your visitors will finish registration and come back to fill in more information in their Account.
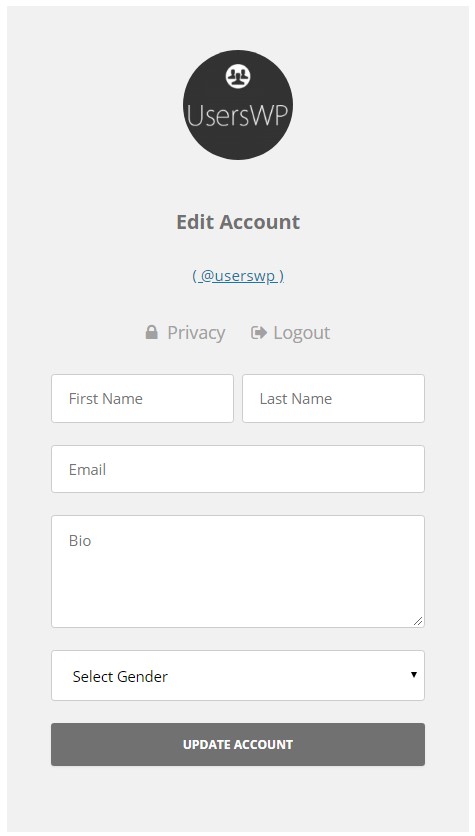
Account Form
The Account form is only visible to a logged in user of the website. UsersWP supplies a link in the UsersWP section of the custom menu to “Account” that links to this form. It is the same form set in the UsersWP – General settings for “Account”. Note – All custom fields will show on the Account form.
Add a Custom Field
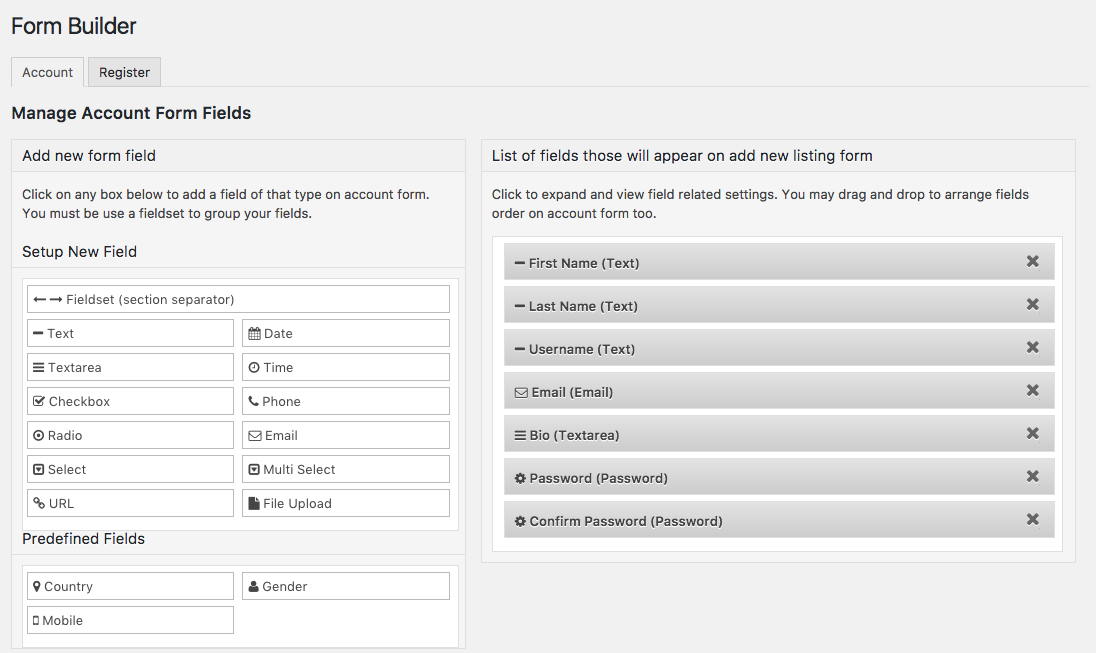
Account and Register forms for UsersWP are powered by the Form Builder.
New fields must first be added to the account form. Within the field options, you can choose to display the field on the Register form.
To add a new custom field, use the following steps:
- Select the Account form (default).
- Select the field type.
- Configure the field settings.
- Adjust “Include this field in the register form” to Yes if you want the field to show up in the Register form.
- Save the field.
- Drag and drop fields to change their order in the form.
Show the field in the Register Form
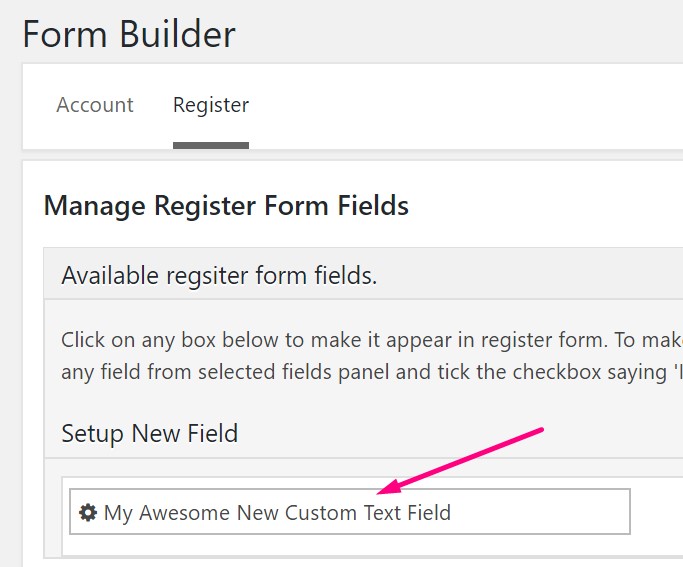
If the new field is to be shown in the Register form, one or both of the following options must be selected.
The final step is to set the field into the Register form. By adjusting the settings above, the field is available to the Register form, but additional steps are needed to show the field in the form:
- Select the Register form (default).
- Find the new field in the list of Available Fields.
- Select the field to add it to the Register form.
- Drag and drop fields to change their order in the form.
Settings
Each field has a number of possible settings. Read more about each one in detail, here.
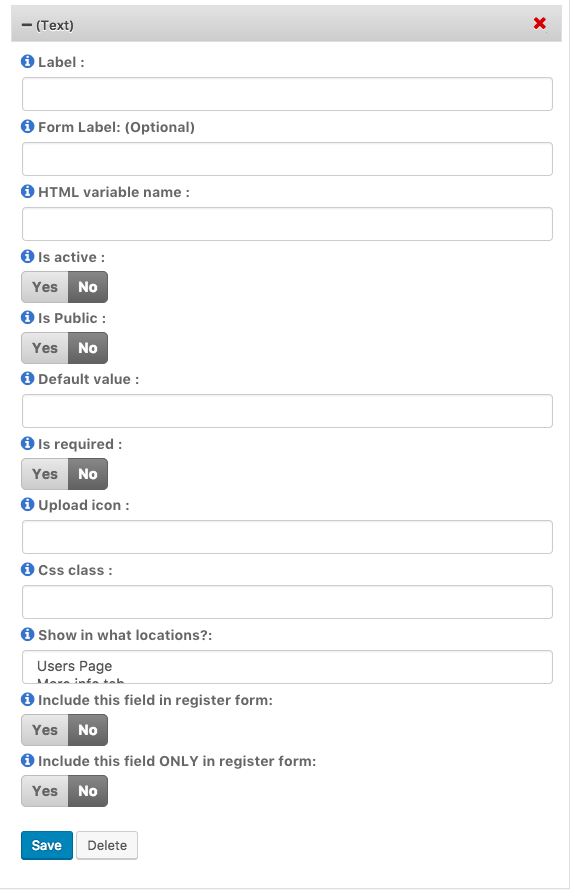
Label:
This will be the label for the field and displayed all over the site.
Form Label:
If your form label is different, then you can fill this field. Ex: You would like to display “What is your age?” in Form Field but would like to display “DOB” in site. In such cases “What is your age?” should be entered here and “DOB” should be entered in previous field. Note: If this field not field, then the previous field will be used in Form
HTML variable name:
This is a unique identifier used in the HTML, it MUST NOT contain spaces or special characters
Is active?
If no is selected then the field will not be displayed anywhere.
Is Public?
If no is selected then the field will not be visible to other users.
Default value:
A default value for the field, usually blank. (for “link” this will be used as the link text)
Is required?
Select yes to set field as required
Required message:
Enter text for the error message if the field is required and has not fulfilled the requirements
Upload icon:
Upload icon using media and enter its url path, or enter font awesome class eg:”fa fa-home”
CSS class:
This will be css class. uwp_social is the reserved class. If you use that class and the field type is URL, then it will be displayed as social buttons
Show in what locations?
Select in what locations you want to display this field
You can choose the following locations.
- Users Page
- More info tab
- Profile page own tab
- Profile Side
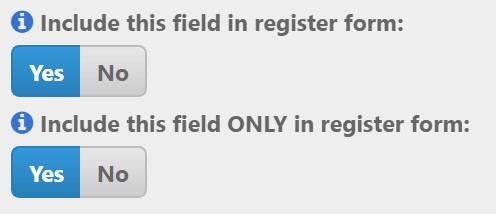
Include this field in register form
When this option enabled field will ALSO appear in register form
Include this field ONLY in register form
When this option enabled field will ONLY appear in register form